Making use of modular assets was my main aim for the get go when it came to creating the walls, floor and ceiling of my environment. It is used extensively in all games these days, and for good reason too. It allows you to spend your time wisely creating a detailed, well-textured model instead of hurriedly creating many different variations. Once you have this model and export it into your engine you can add as many iterations into your environment as needed allowing you to quickly piece it together.
It helps to have equal sized modular pieces (2x2, 4x4, etc.) as they are easier to piece together once inside your engine, although they are not a necessity. With my level dimensions at 24x44x10 I worked out that I need to create a floor tile of 12x11 and I had hoped to create a single wall panel but realised at 24x44 I could not use one model properly with the length and width I had set up. I needed to create two panels - one at 12x10 and one at 11x10; the 12x10s would be used twice on each end to make a 22x10 wall and the 11x10s four times to make a 44x10 wall at each side.
As I mentioned earlier it would have been much easier to have equally sized proportions for my modular pieces as they would have snapped together easier, but after testing out all my blockouts I didn't feel I couldn't accommodate an appropriately sized environment for them. After adding some more models to my environment, and understanding I could be a little looser with following the concept, I changed the dimensions so they were suitable for square modular pieces.
The Models
I began researching some examples of sci fi-themed walls and floors on sites like Polycount and viewing what Google Images had to offer. They gave me some inspiration and I drew some quick illustrations of some potential designs. I began creating the modular wall in 3DS Max where I created a high poly model, before baking a normal map to project the detail onto a lower poly model. I then created a texture for it in Photoshop before taking it into UDK to see what it looked like inside the engine. It took me three attempts before I was finally happy with a wall and after the first I changed my work flow.
Wall 1

My lack of experince in high poly modelling became apparent here as I had some trouble with getting things to look right once a turbosmooth was applied. The idea was to add various indents to the wall as well as some grills/vents in the bevels at the side but it took far too long to get them modelled in and eventually I scrapped them just to make sure I got something into the engine. It looks very average and the test-texture on it doesn't help.
Wall 2

As you can see I recreated the original design, giving it a more refined look and even managed to include the vents which I had been unable to before. The difference this time was that instead of creating a high poly model in 3DS Max, I used the nDo2 plug in with Photoshop to create a normal map before importing it into UDK.
I was amazed at how much quicker it was - it took me 20 minutes to create this, compared to 3 hours for the first wall. I was happy with the design but I knew the texture needed some work, however when I tested it out in UDK I found that the vents I added were far too repetitive for it to been used convincingly in a modular environment.
Wall 3

I started from scratch with nDo2 and created the third and final wall panel, getting rid of the vents to ensure it looked good when used modularly. I also completely redid the texture which I am much happier with and did some more research into creating convincing materials. It is hard to tell from this one but it has a very nice shine to it and has a preliminary reflection map on it which really sells the metal effect.
The Floor Panels

It was a similar story for the floor tiles. These were created from high poly models in 3DS Max and, coupled with the first attempt at the texture yielded very underwhelming results.
For the final floor panel I switched to creating it in nDo2 which wound up being quicker but also yielding a much better result.
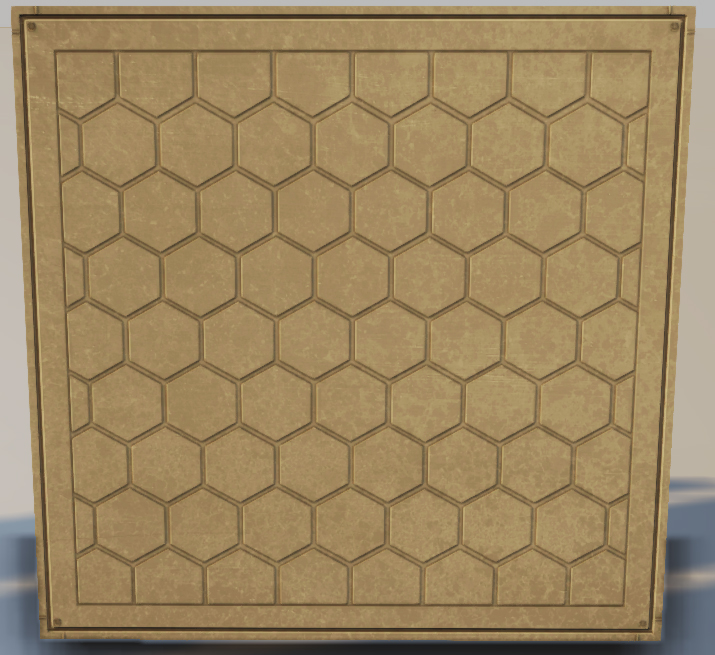
EDIT: After posting this I have realised just how much the 'afternoon lighting' in UDK has affected the texture. Its safe to say they look nowhere near as yellow in the environment; I'll post a proper photo of it so far in the next entry!
No comments:
Post a Comment